

Send and manage user properties
Send user properties to Screeb from your site, app, backend or a CSV file, then review and clean them up in the settings.
Send the properties of your users to Screeb, then check what arrived and remove what you no longer need. To learn what properties are, read Understanding user properties.
Before you start
Section titled “Before you start”- Screeb is installed on your site or app: see Install Screeb on your website or web app or Install Screeb in your mobile app.
- Favoriting and removing properties depend on your role. Without the permission, the buttons do not show.
- Importing users from a CSV file requires the permission to edit segments.
Send properties
Section titled “Send properties”Pick the way that matches where your data lives. You can combine several.
- From your site or app. Call the SDK identity commands once the user is logged in. In Install Screeb, the Identify your users step gives a snippet for your workspace. The identity guide in the developer docs covers every platform.
- Through Google Tag Manager. Fill in the user ID and properties in the Screeb tag of your container, see Install Screeb with Google Tag Manager.
- From your backend. Send
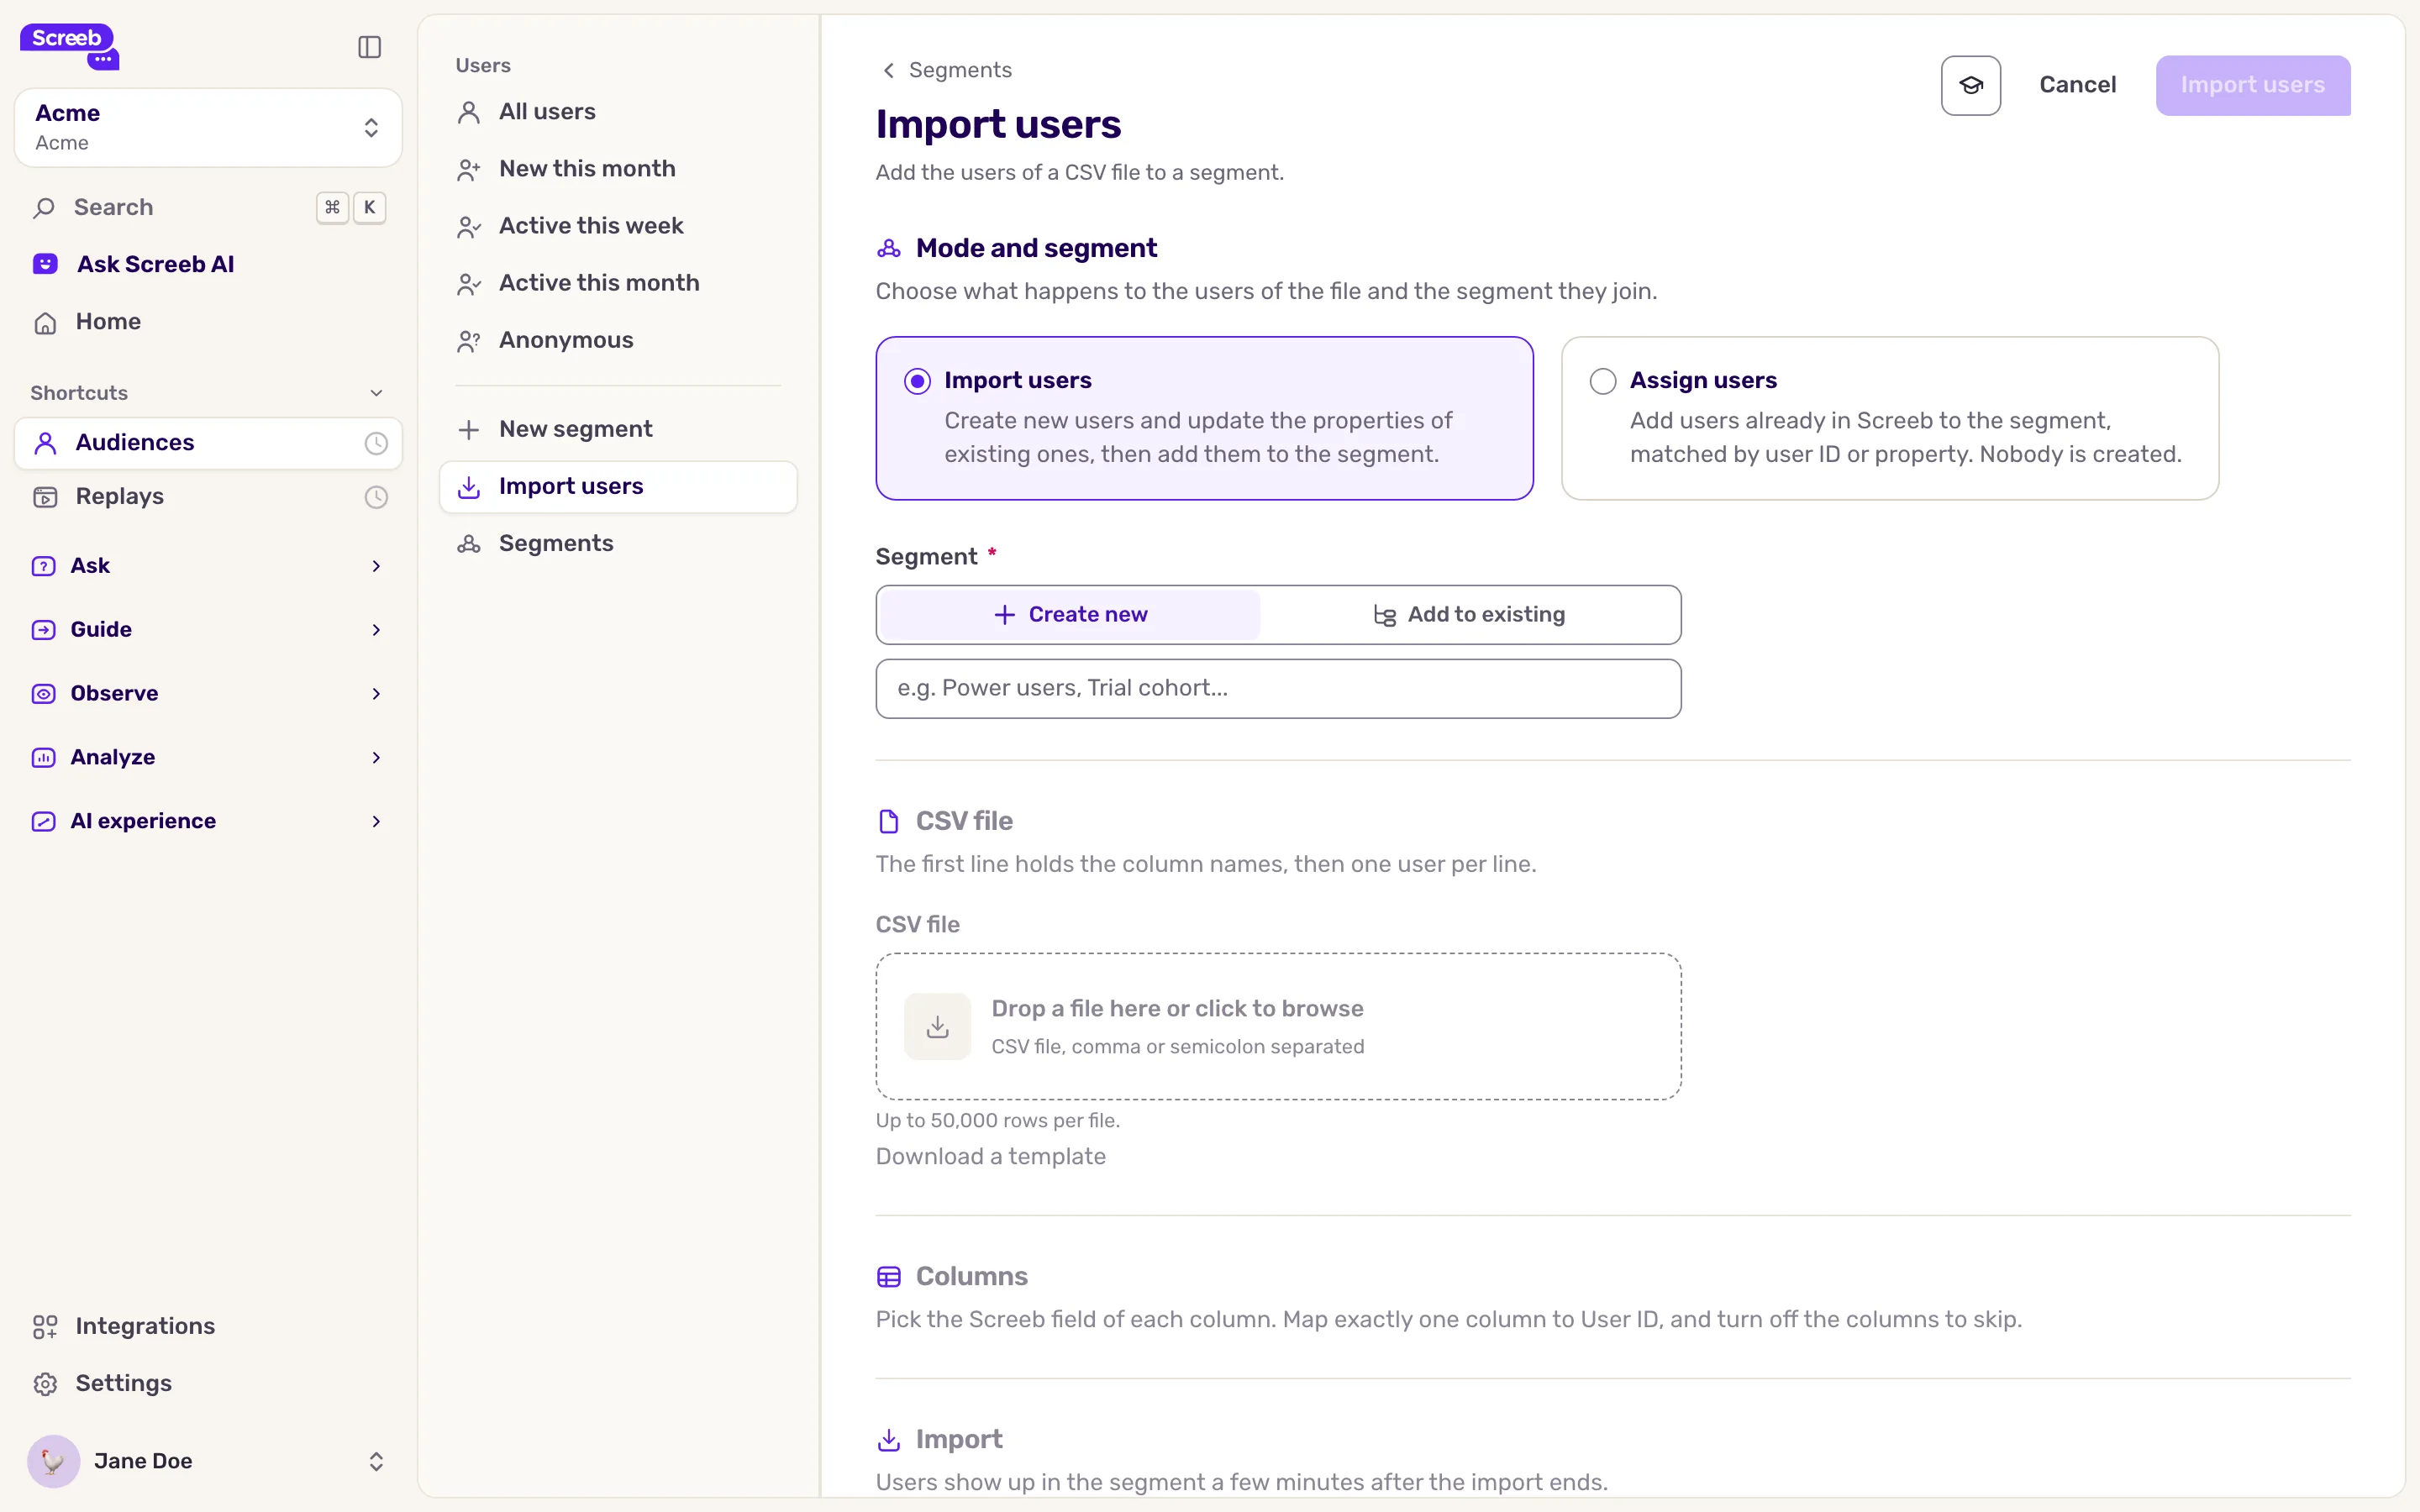
identifyevents to the Screeb API, authenticated with the Workspace API key found in Screeb API (organization Admins only). See Get your Screeb API key and the Screeb API reference. - From a CSV file. In Audiences, click Import users and choose Import users. Screeb creates the new users, updates the properties of existing ones and adds them all to a segment.
- From another tool. Connect Segment, RudderStack, Amplitude, Contentsquare or Salesforce as a source in the integrations.
Review your properties
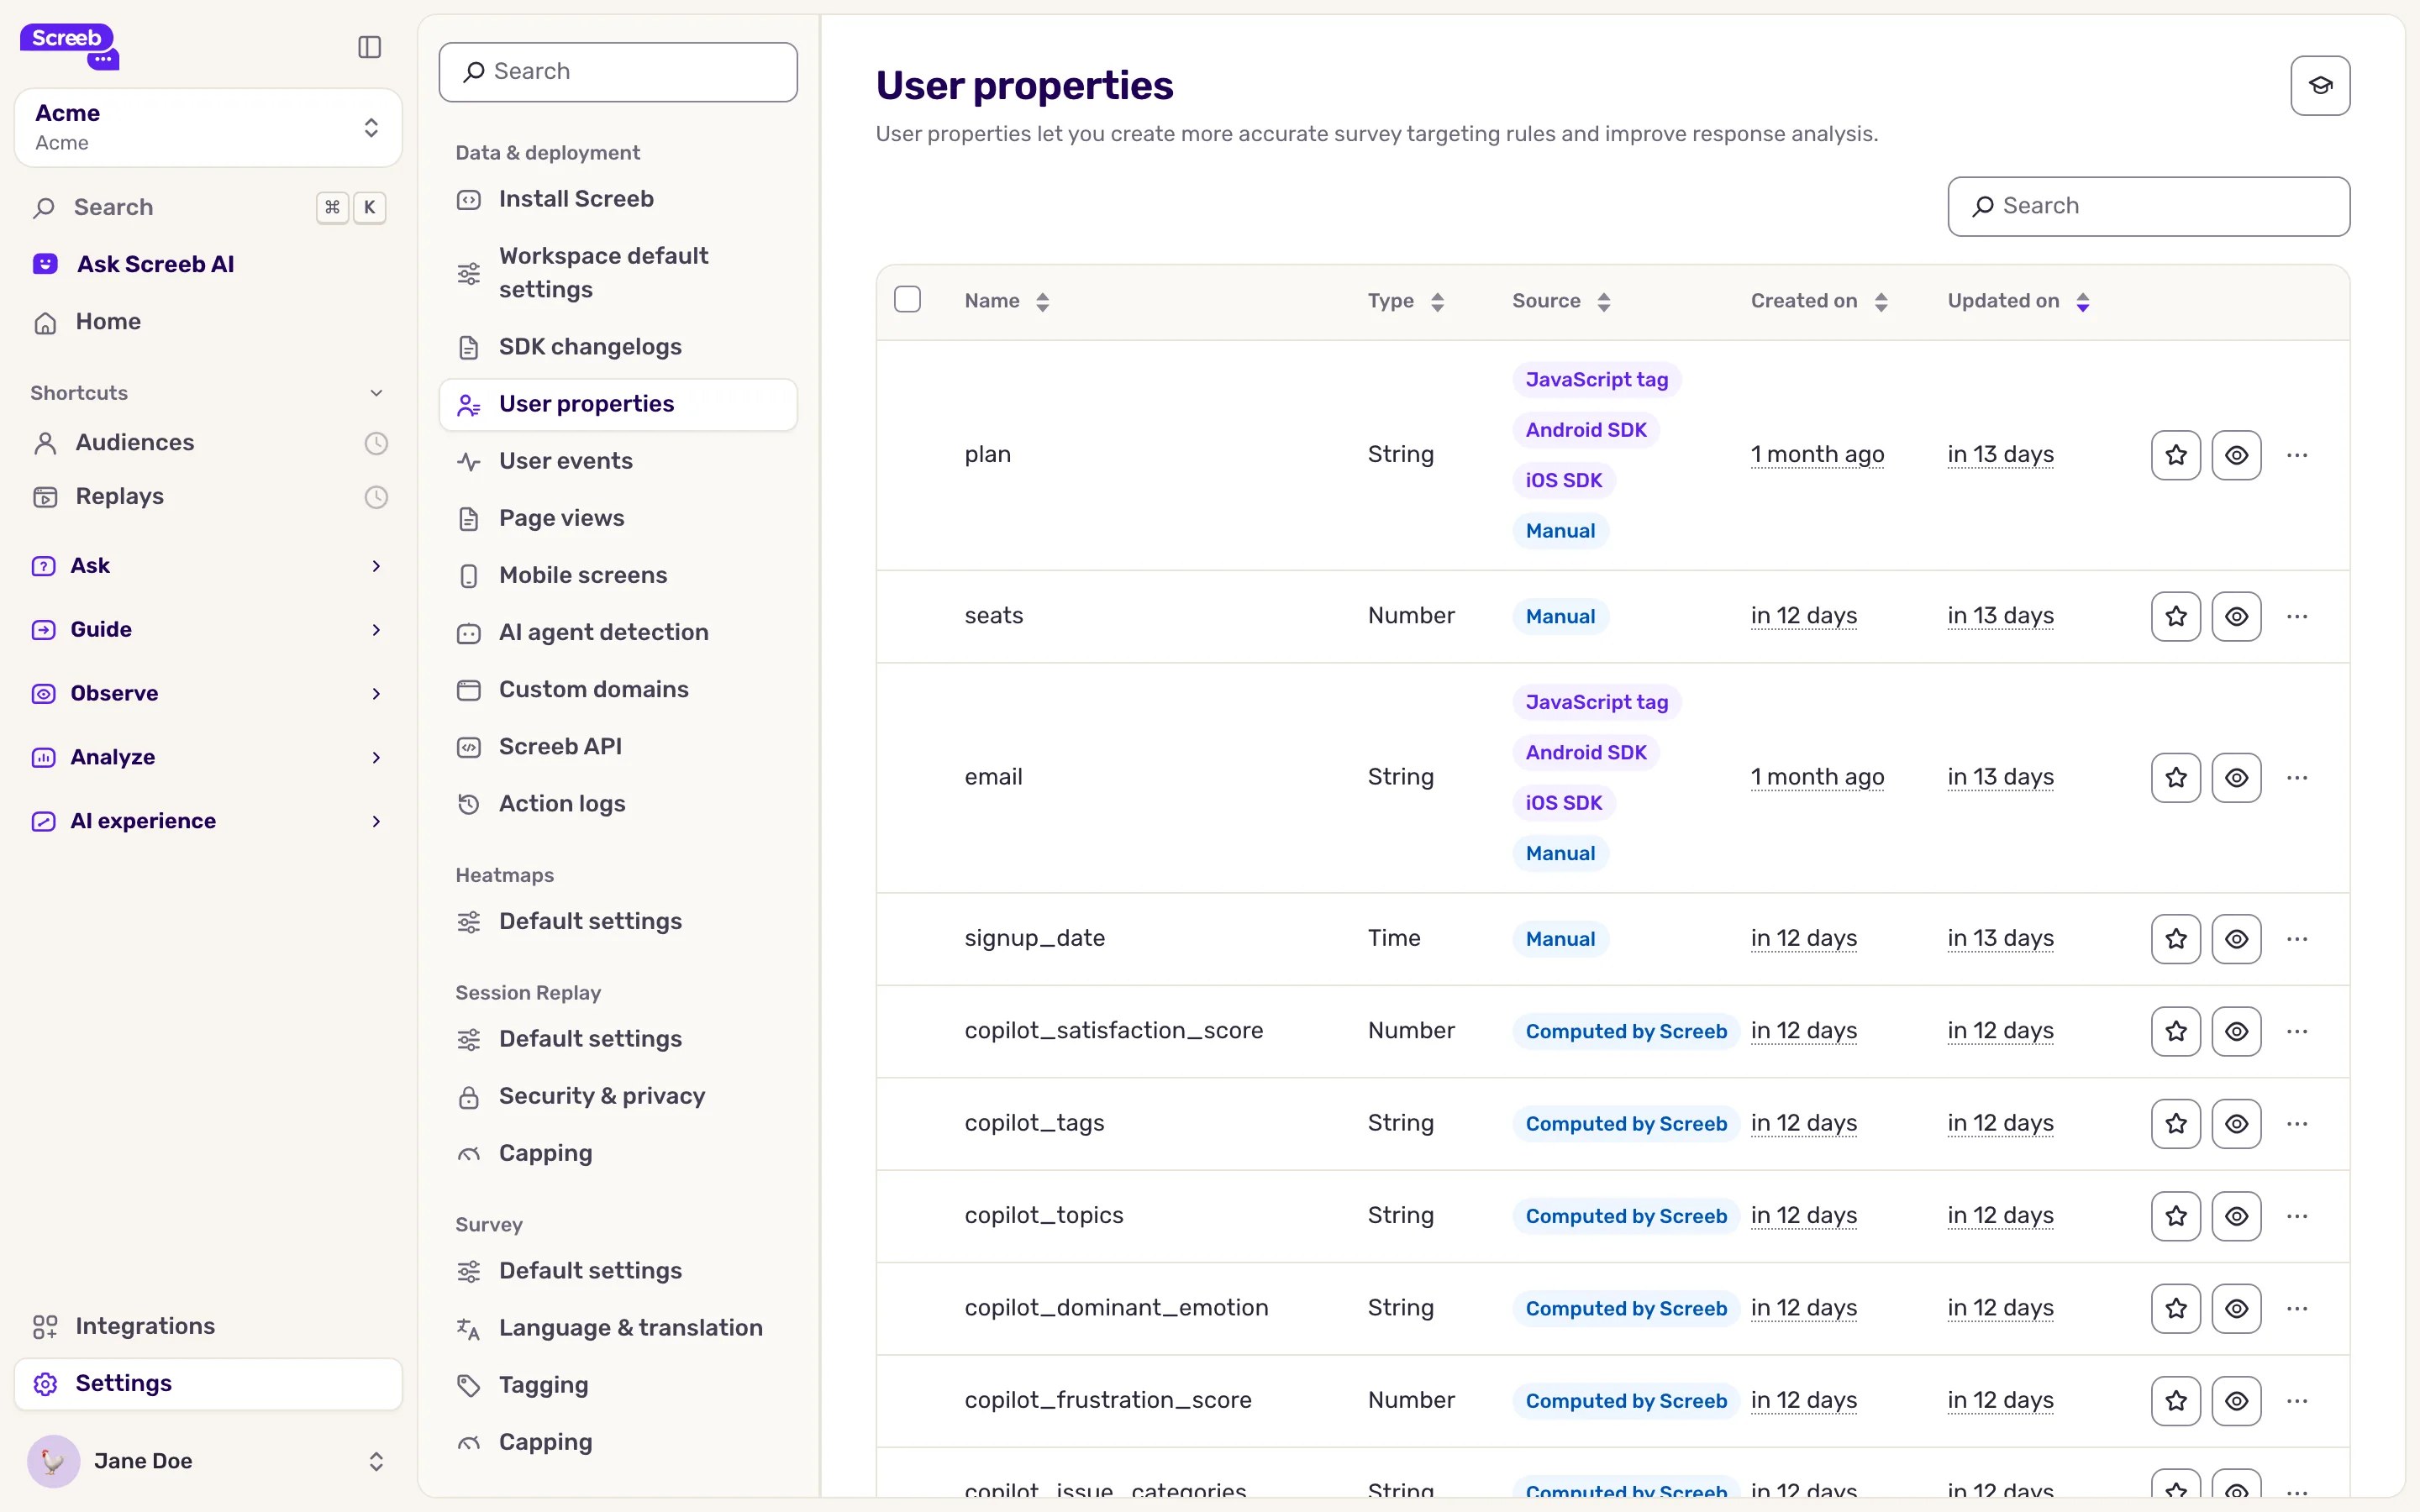
Section titled “Review your properties”- Open Settings, then User properties. The list shows every property received in the workspace, the most recently updated first.
- To find a property, type its name in Search.
- Read the columns: Name (a nested property shows as a dotted path), Type, Source (every way the property was received), Created on and Updated on. Use the filter of the type and source column headers to narrow the list.
- To keep a property at hand, click the star (Favorite) at the end of its row. Favorite properties come first, with a star, when you pick a property in survey targeting.
- To hide a property you do not want to target, click the eye (Show/Hide) on its row. A hidden property is no longer offered when you pick a property. Click the eye again to show it.
- To change several properties at once, tick their rows, then in the bar that appears at the bottom click Favorite, Unfavorite, Show or Hide.
Remove properties
Section titled “Remove properties”- Open the menu at the end of a property row and click Remove. To remove several properties, tick their rows (the box in the header ticks them all), then in the bar that appears at the bottom click Remove.
- Read the warning: a survey whose targeting uses the property is no longer displayed. Update its rules first.
- Confirm. A message tells you the properties were removed.
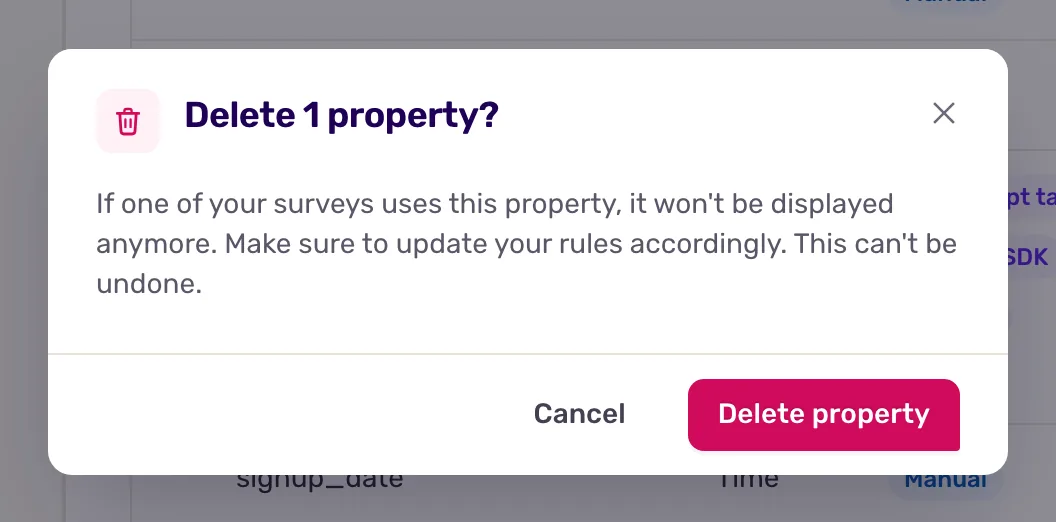
Removing a property cannot be undone. Some properties, such as those Screeb manages itself, cannot be removed: their checkbox is greyed out and their row has no menu.
What you get
Section titled “What you get”Your properties show on each user profile, in the Properties tab, and you can use them in survey targeting, response analysis and question text.
Troubleshooting
Section titled “Troubleshooting”The list says “No user properties found”. Screeb has not received any property in this workspace yet. Check that your code sends them after Screeb is initialized, then reload the page.
A property you sent is missing. If it is a reserved property, check its format: an email that is not a valid address, for example, is dropped. See Understanding user properties for the expected formats.
The star, the eye or the menu does not show on a row. Your role does not allow editing or removing properties, or the property is an object: only the properties it contains can be favorited.