

Manage organizations and workspaces
Create, rename and delete the workspaces of your organization, and share its quotas between them.
Your organization is the top level of your Screeb account: it holds your workspaces, your teammates, your plan and its quotas. Each workspace has its own installation, users, surveys, messages and data, for example one per product or per environment.
Before you start
Section titled “Before you start”- Creating, editing and deleting workspaces and changing the quota allocation need the organization Admin role. See Invite teammates and manage roles.
- Your plan sets how many workspaces you can create.
Create a workspace
Section titled “Create a workspace”- Open the workspace switcher at the top of the sidebar and click New workspace. You can also open the Organization view, go to Workspaces and click Create a workspace.
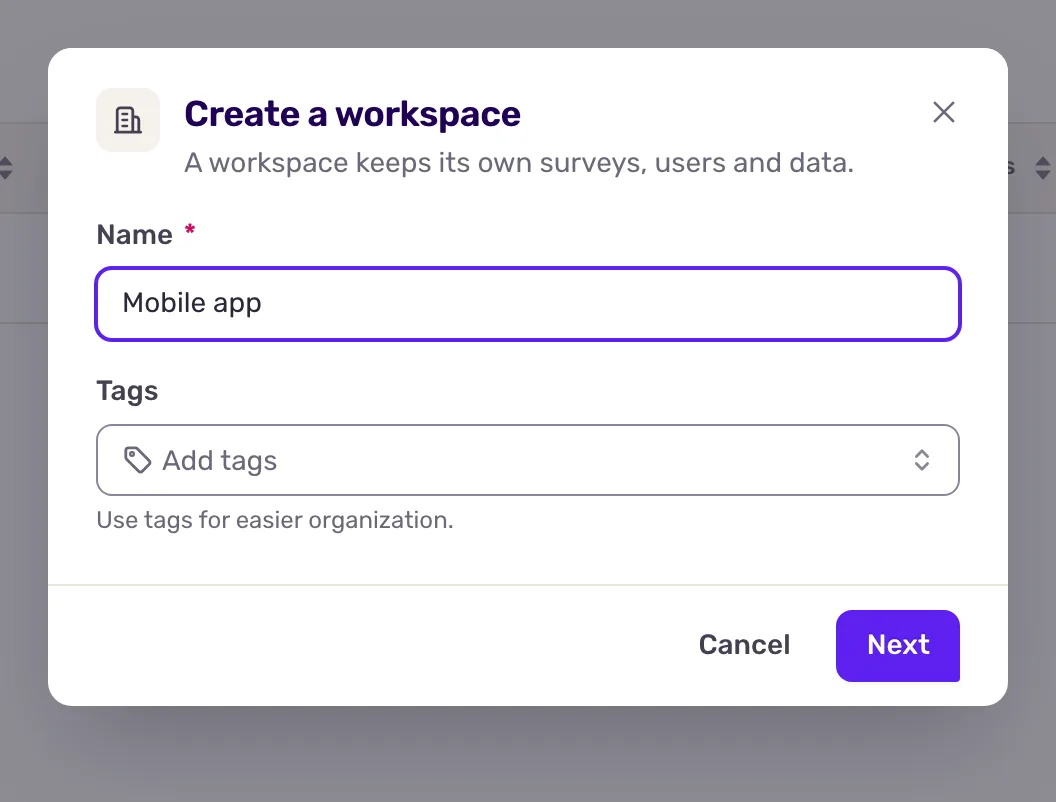
- Type a Name, add Tags if you want to group workspaces, then click Next. The workspace is created.
- Choose the teammates who get access in Users, pick their Role, then click Invite. Click Skip to do it later.
The new workspace needs its own installation: see Install Screeb on your website or web app. To move between workspaces, use the switcher described in Find your way around Screeb.
Rename or delete a workspace
Section titled “Rename or delete a workspace”- In the Organization view, open Workspaces.
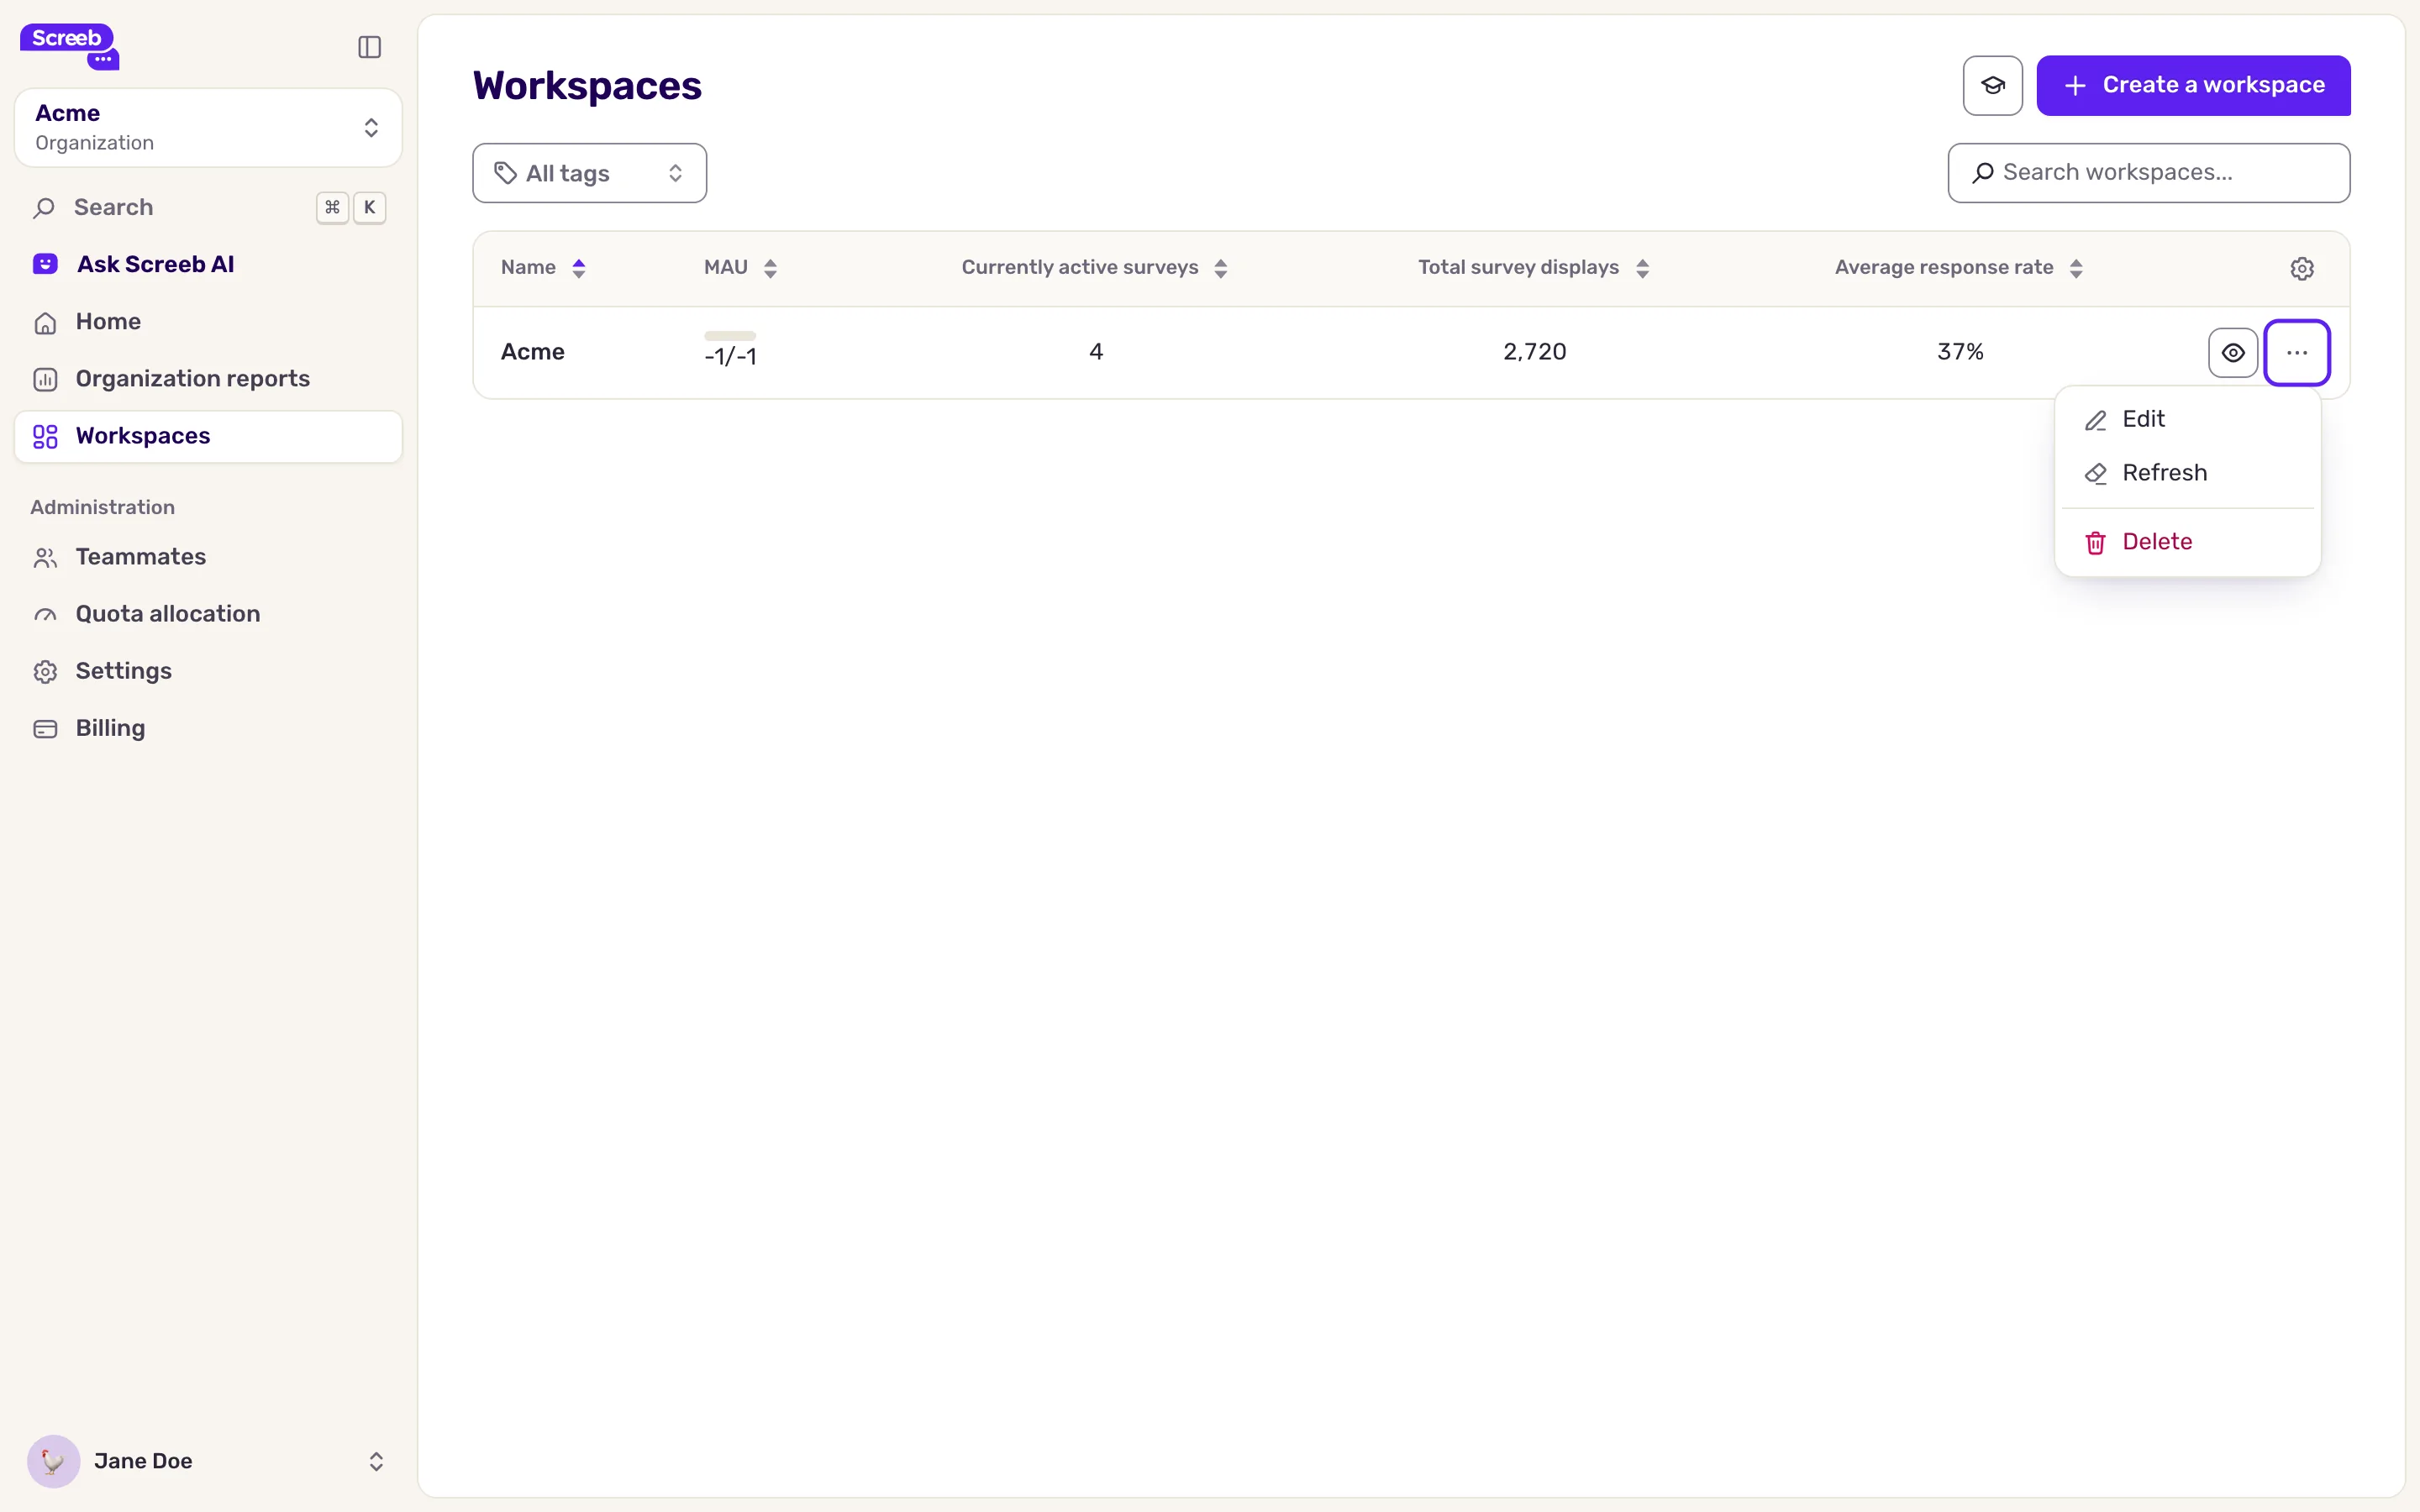
- Click the menu at the end of the workspace row. It only shows for the workspaces you belong to.
- To rename it or change its tags, click Edit, make your changes and click Update.
- To delete it, click Delete, type the workspace name to confirm, then click Delete workspace.
Deleting a workspace permanently deletes its surveys, responses and data. This cannot be undone.
Share quotas between workspaces
Section titled “Share quotas between workspaces”Your plan comes with monthly quotas for the whole organization, such as monthly active users, survey responses and session replays. Choose how your workspaces use them.
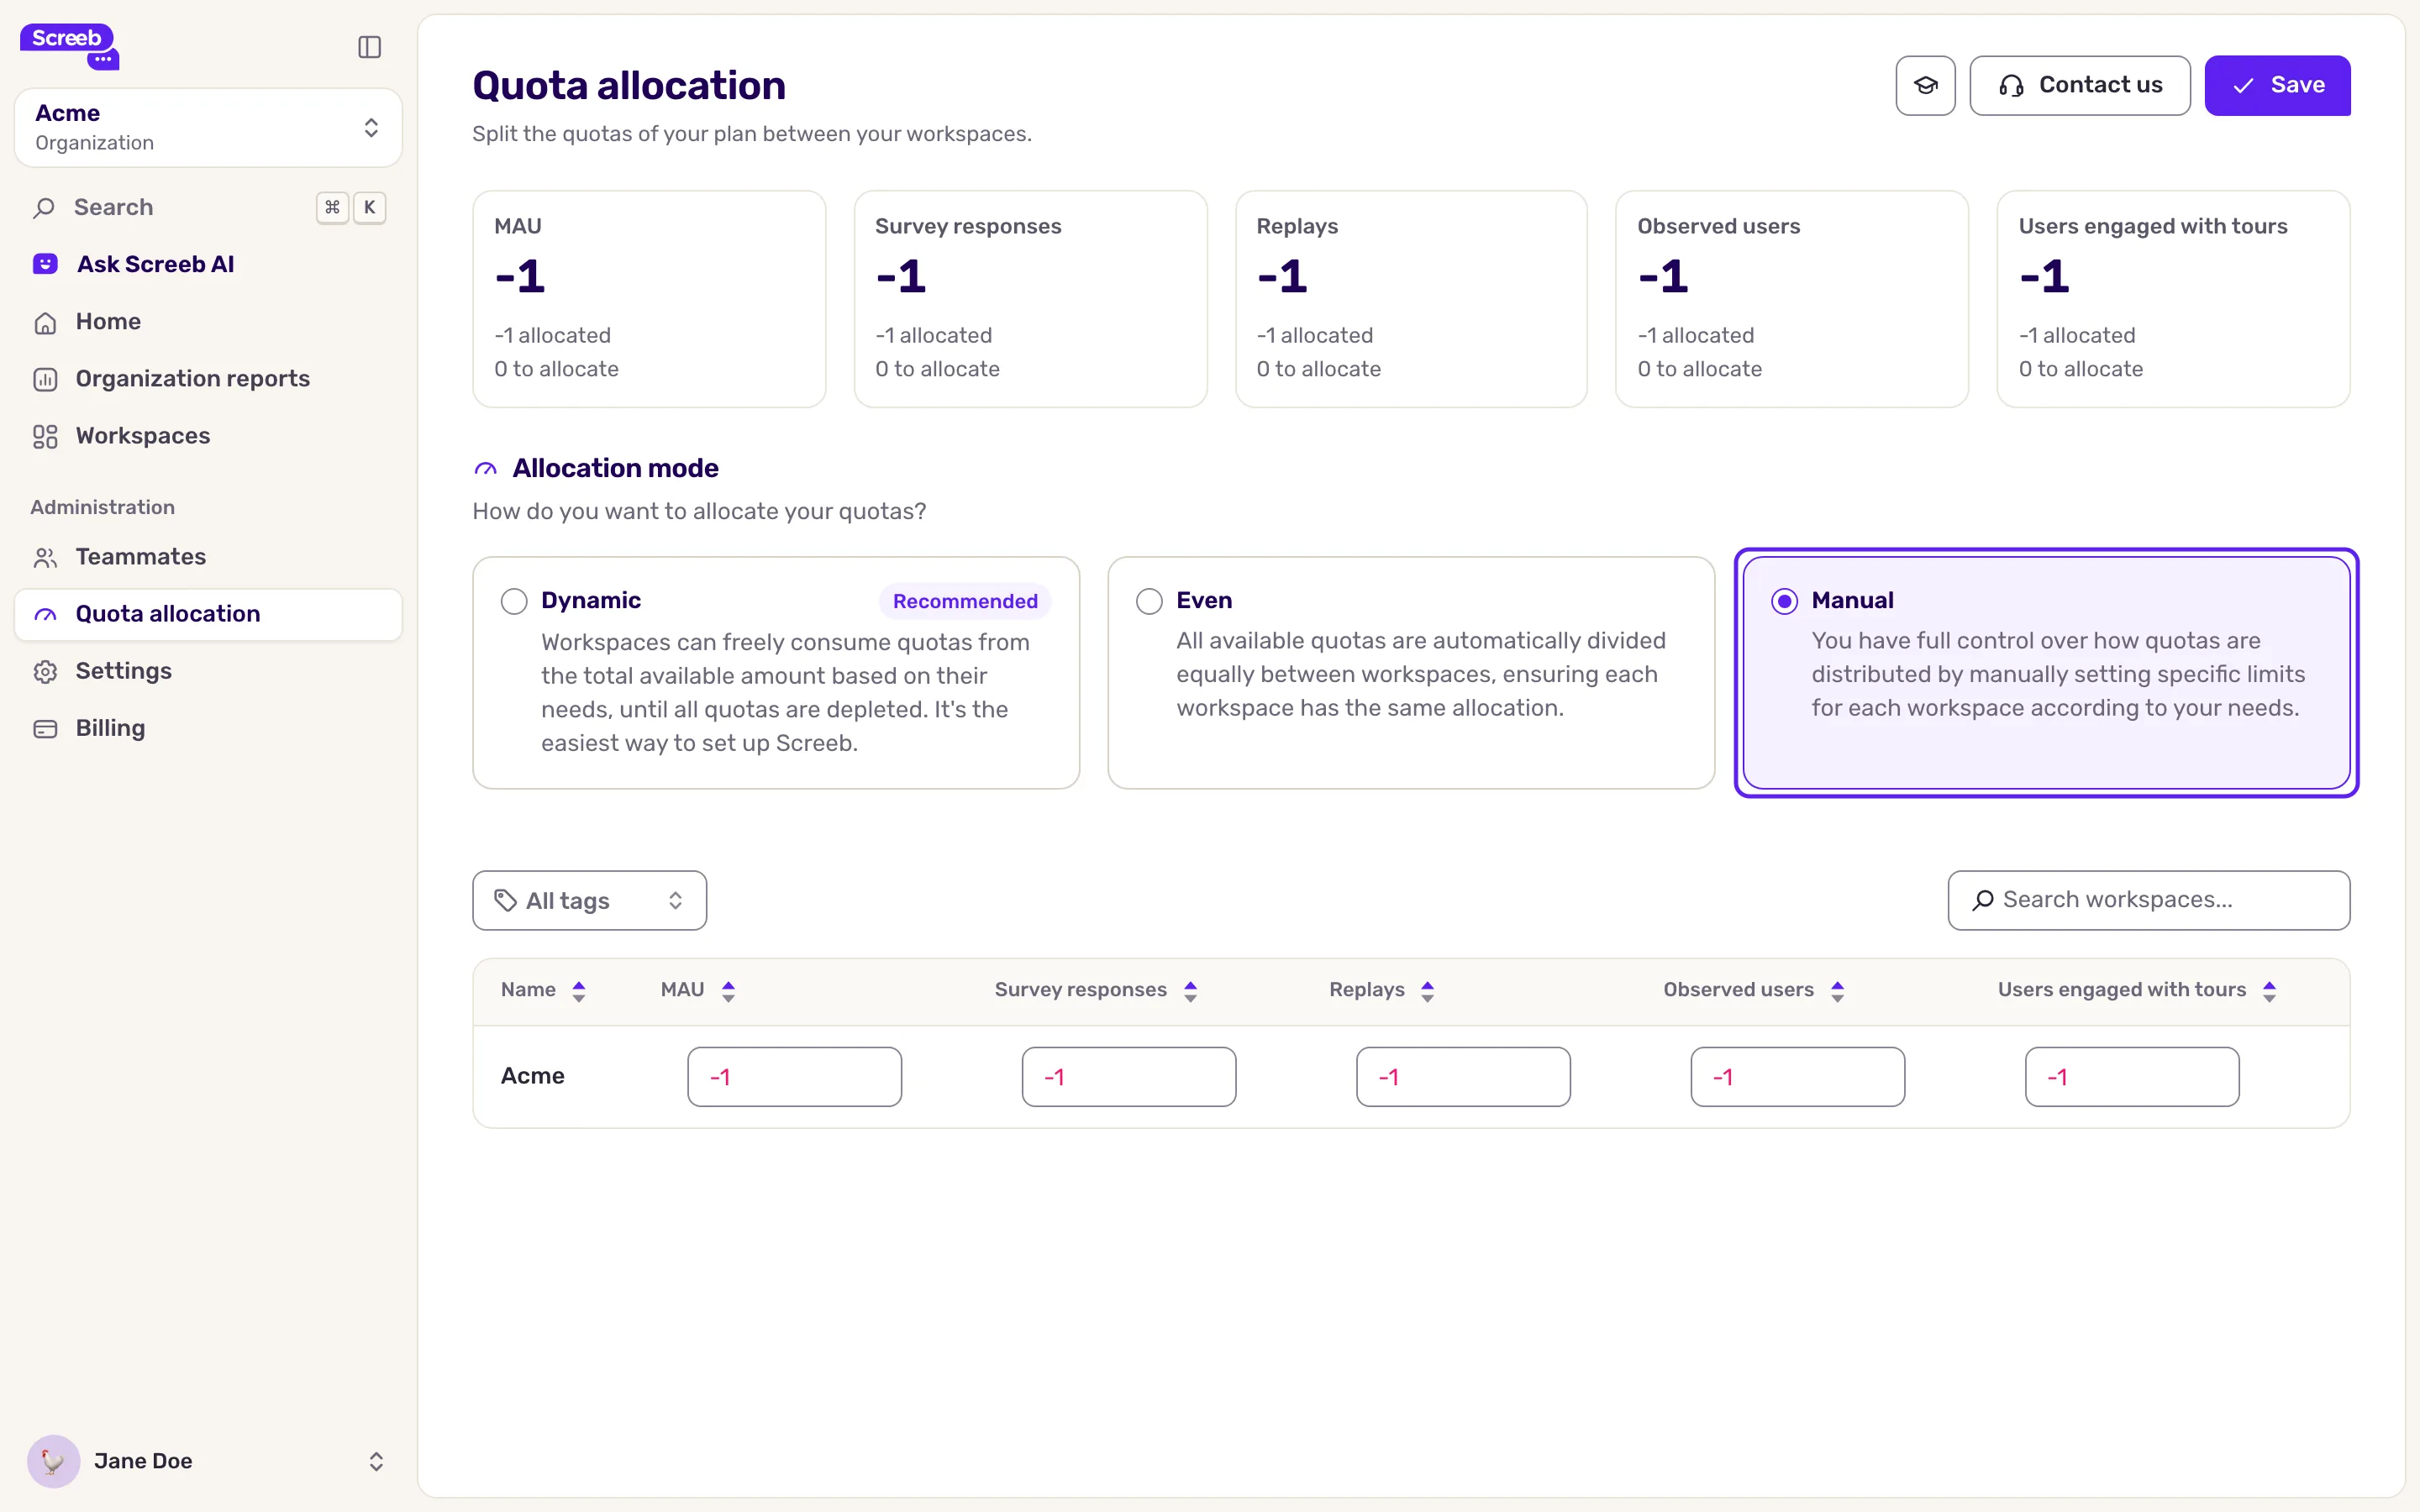
- In the Organization view, open Quota allocation. The top of the page shows each quota of your plan and how much of it is allocated.
- Pick a mode:
- Dynamic: every workspace draws from the shared total until it runs out. It is the simplest setup.
- Even: the quotas are split equally between your workspaces, and split again when you add one.
- Manual: you set each quota of each workspace in the table below. The total cannot exceed your plan.
- Click Save.
In Even and Manual modes, a workspace that uses up its share stops there, even when other workspaces still have room. In Manual mode, set the quotas of a new workspace right after you create it. To learn what each quota counts, read Plans, quotas and billing.
Rename your organization
Section titled “Rename your organization”The organization Name shows in the organization settings but cannot be edited there: contact support to rename it.
What you get
Section titled “What you get”Your workspaces are listed in Workspaces, with their usage this month, and each one only uses the share of quotas you gave it.
Troubleshooting
Section titled “Troubleshooting”The create button is greyed out with “You have reached the maximum number of workspaces for your plan.”. Your plan has no workspace left. Delete a workspace you no longer use, or contact us to add workspaces to your plan.
A workspace in the list is greyed out. You do not belong to it. Ask an organization Admin to add you, or add yourself if you are one.
Save stays disabled on the quota page. Nothing changed yet, or the quotas you allocated exceed your plan: lower them until the total fits.