

Send feedback to Jira
Turn survey responses into Jira issues, automatically for every new response or one by one from the responses list.
The Jira integration turns survey responses into Jira issues, so feedback lands in the backlog of the team that acts on it. Screeb can create an issue for every new response of a survey, or you can send a single response from the responses list. In Screeb, the integration is called Jira Software. It works with Jira Cloud projects; Confluence is not supported.
Before you start
Section titled “Before you start”- Jira Software is part of your plan. Without it, the catalog shows Upgrade to install instead of Install.
- Installing and connecting Jira Software from Integrations, and synchronizing a project from the share window, need the Admin role. Sharing a survey to Jira needs the Editor role or above: without it, the share action does not show.
- Your Atlassian account can edit and manage the Jira project. In a company-managed project, Screeb adds an issue type, a screen and one field per question, which needs Jira administration rights.
Connect
Section titled “Connect”Connect your Atlassian account
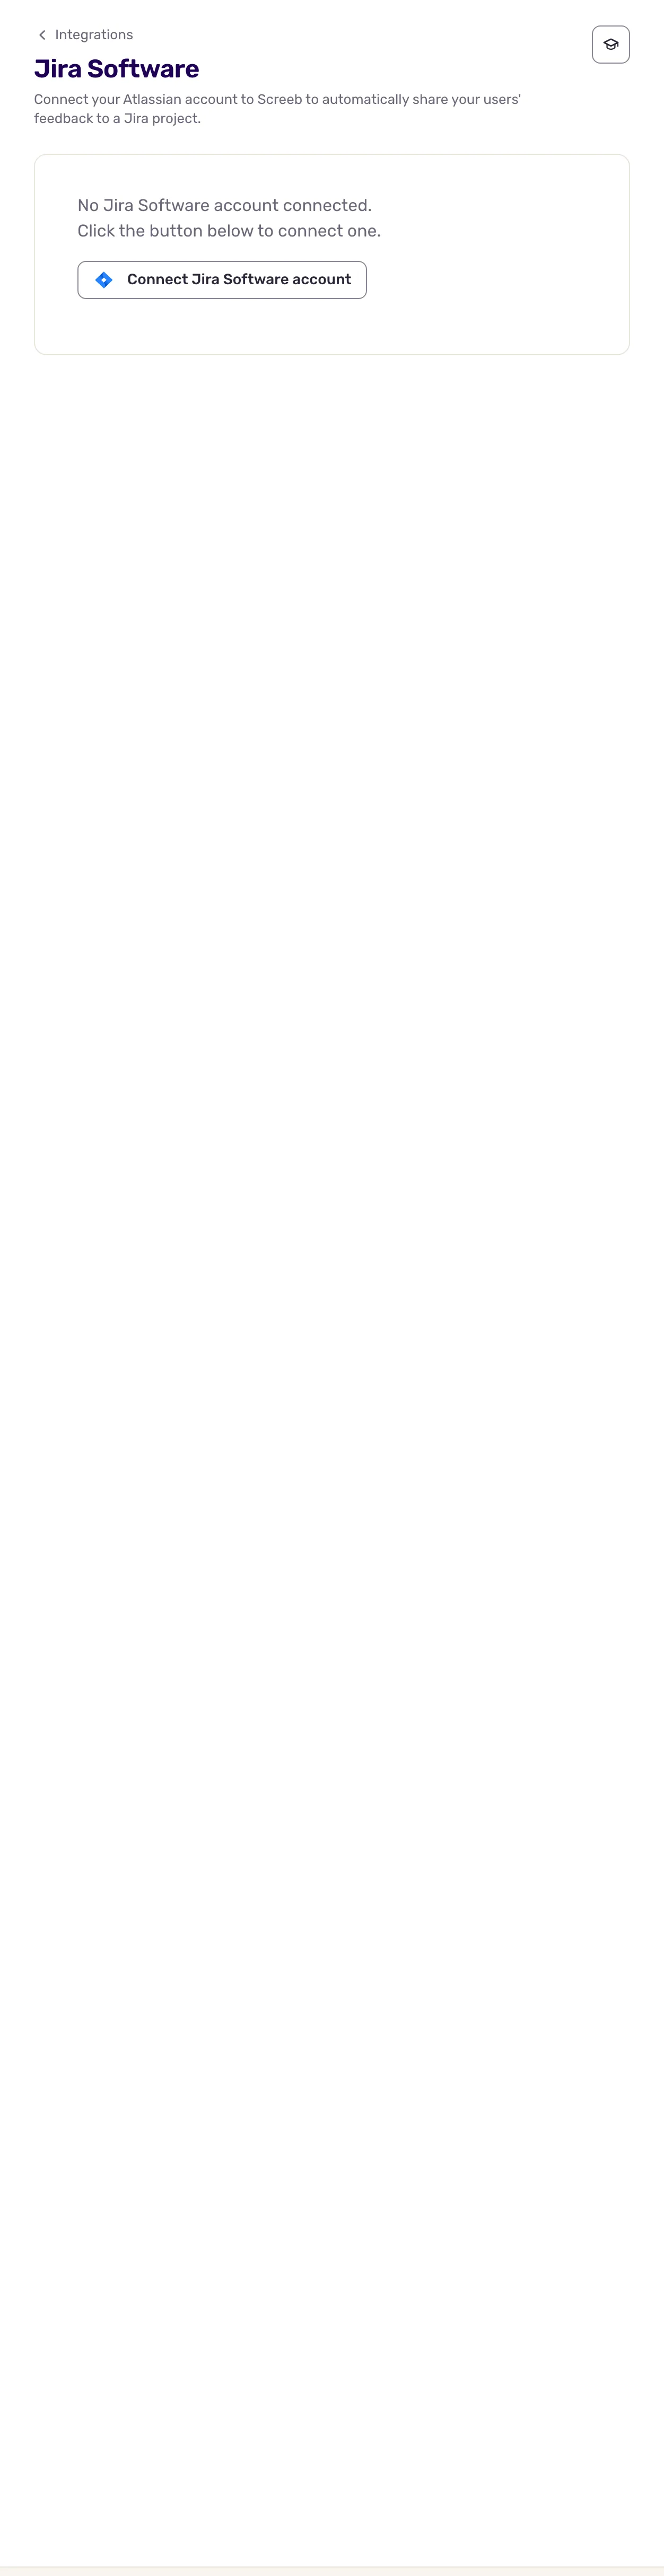
Section titled “Connect your Atlassian account”- Open Integrations, find Jira Software and click Install. Its page opens.
- Click the button to connect your Jira Software account. Atlassian opens.
- Sign in and accept the access Screeb asks for: read and write Jira issues, and manage projects and their configuration.
- Atlassian sends you back to Screeb, which now says the account is connected.
Create an issue for every response
Section titled “Create an issue for every response”- Open a survey, click Analyze, then All responses. Jira is only offered on this report.
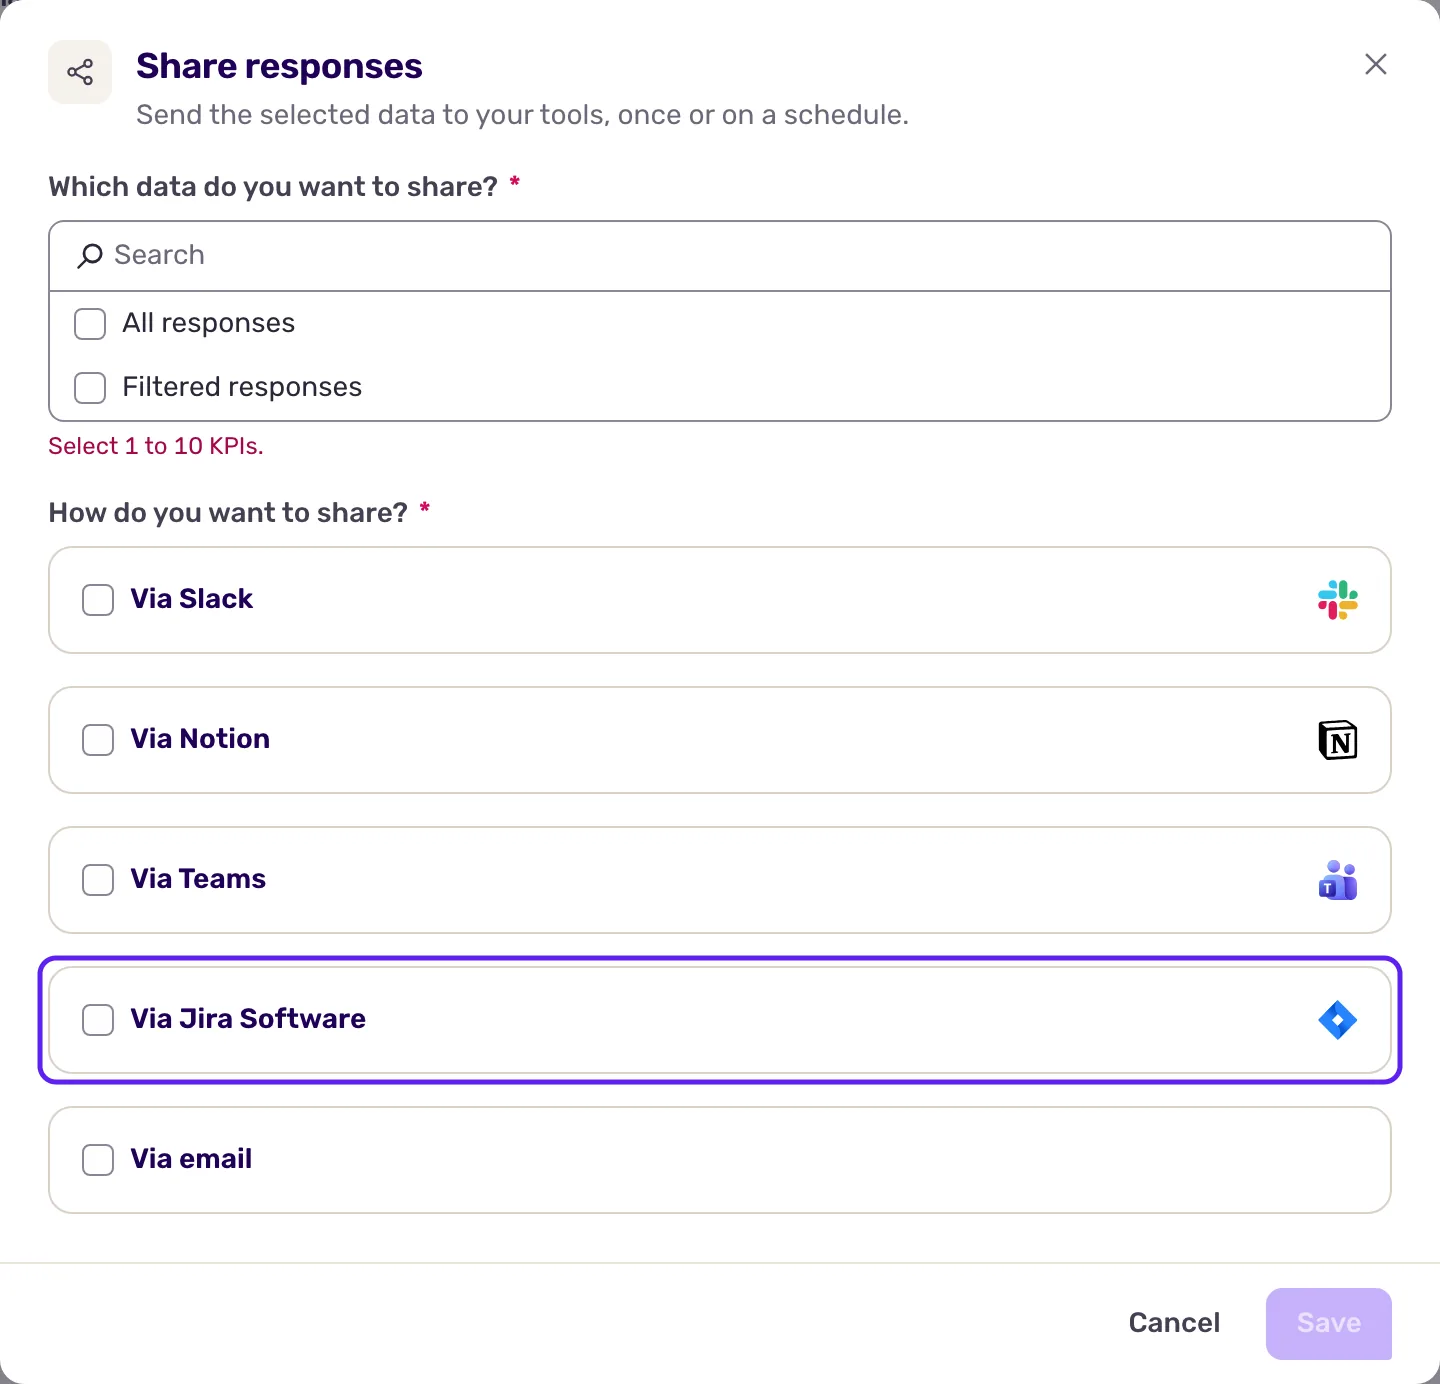
- Click Share responses at the top right.
- Under Which data do you want to share?, choose All responses, or Filtered responses and set your rules.
- Under How do you want to share?, check Jira Software.
- In Select a project, pick the Jira project, then click Synchronize. Screeb prepares the project for this survey, and the project shows under Share to Atlassian project.
- Click Save.
Send one response
Section titled “Send one response”- In All responses, open the menu at the end of a response row and choose the entry that sends it to Jira Software. The Forward to Jira window opens.
- Pick the project in Jira project and click Send. Screeb confirms with Feedback sent.
Data exchanged
Section titled “Data exchanged”Data only goes from Screeb to Jira. Each response gets one issue, created at the first answer and updated with each new answer. With Filtered responses, the issue is created once the response ends or expires, if it matches your rules. Responses given before you saved are not sent, and neither are responses where the user answered nothing.
- Team-managed project: the issue is titled with the response ID. Its description holds a table of the questions and answers, then the hidden fields, user properties and context of the response.
- Company-managed project: the issue uses a Screeb issue type made for the survey, with a field per question plus the response ID, date, completion, identifier, name, email, tags, hidden fields and user properties.
Troubleshooting
Section titled “Troubleshooting”Could not synchronize the project Your Atlassian account lacks the rights to change the project. Ask a Jira administrator to connect the integration, or pick another project.
Could not reach Atlassian The connection is broken, and the integration page shows Reconnect required. Open the Jira Software page and click Reconnect.
The project is missing from the list. Screeb connects to one Jira site, the first one Atlassian returns for your account. If you work with several sites, connect with an account that has access to the right one.
Disconnect
Section titled “Disconnect”- To stop creating issues for a survey, open its share window again and click Stop sharing. Existing issues stay in Jira.
- To disconnect Jira, open the Jira Software page, click Revoke access and confirm.
- To remove the integration, click More at the top right of that page, then Delete, and confirm with Delete integration.