

Sync Salesforce data with Screeb
Fill Screeb user properties from Salesforce fields, and write user properties and survey scores back to Salesforce records.
Salesforce connects to Screeb in two directions. Salesforce source copies Salesforce fields into Screeb user properties, to segment users and target surveys. Salesforce destination writes Screeb user properties and survey scores to Salesforce fields. Each direction is a separate integration with its own connection.
Before you start
Section titled “Before you start”- Each direction is part of your plan. Otherwise, its card in the catalog shows Upgrade to install.
- You are an admin of the Screeb workspace.
- You have a Salesforce user that can authorize API access for Screeb.
- A Screeb user property holds a value that also identifies the person in Salesforce, such as the email.
Connect Salesforce
Section titled “Connect Salesforce”Do this once for each direction you use.
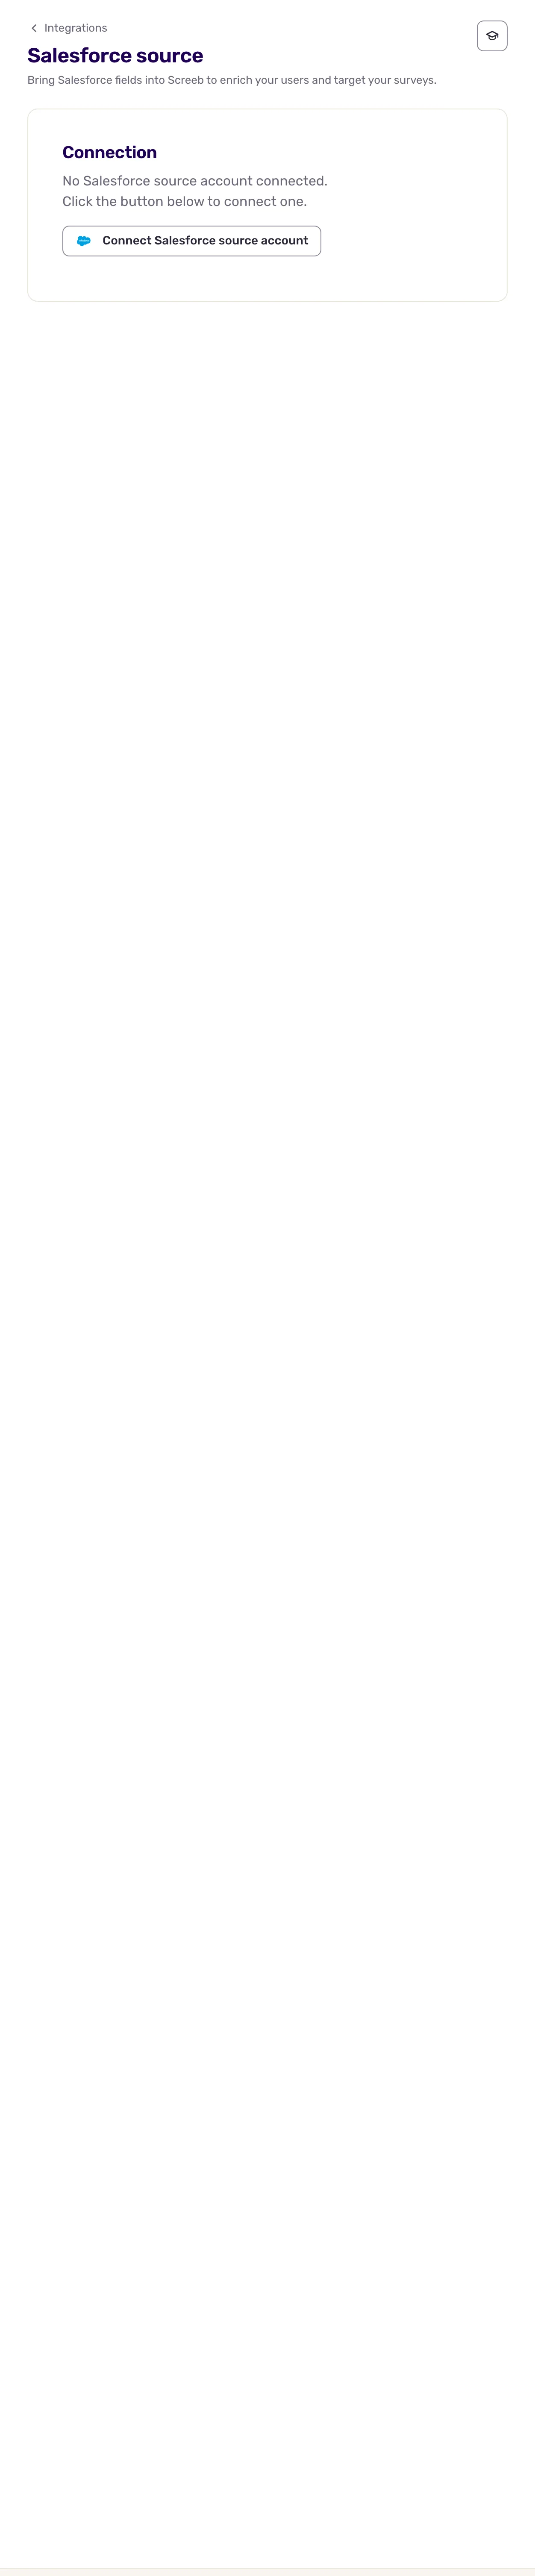
- Open Integrations, find Salesforce source or Salesforce destination and click Install. The settings page opens on Connection.
- Click the button to connect a Salesforce account. Salesforce opens.
- Log in to Salesforce and allow access. Back in Screeb, the page says You can now configure your Salesforce integration below.
Send Salesforce data to Screeb (source)
Section titled “Send Salesforce data to Screeb (source)”A matching links one Salesforce object to Screeb users, then lists the fields to copy.
- On the Salesforce Source page, under Matching from Salesforce to Screeb, click Add.
- On the first line, in Select a user property, pick the property that identifies your users. In Select a Salesforce object and Select a Salesforce field, pick the object and the field that hold the same value, for example the Email field of Contact.
- On the line below, pick a field of that object and the user property to fill with it. If the property does not exist yet, type its name: the list shows Type to create a user property, and Screeb creates it as a text property.
- To copy more fields of the same object, click Add next to the last line.
- Click Save.
- If Some matchings have no corresponding events, so Screeb cannot receive data from Salesforce. shows, click Turn on change events. Screeb turns on Change Data Capture for the matched objects in Salesforce. If it fails, turn it on in Salesforce Setup, then click Check again.
- Click Sync now to import the current values of all records. Sync can only be triggered once every 15 minutes: the button shows the remaining time in between.
Send Screeb data to Salesforce (destination)
Section titled “Send Screeb data to Salesforce (destination)”- On the Salesforce Destination page, under Matching from Screeb to Salesforce, click Add.
- On the first line, pick the identifying user property, then the Salesforce object and the field that hold the same value.
- On the line below, pick what to write, a user property or a score under Score (NPS, CES, CSAT or NES), then the Salesforce field that receives it. Add more lines with Add.
- Click Save.
Data exchanged
Section titled “Data exchanged”Both directions find records the same way: the Salesforce records of the object whose matching field equals the value of the identifying user property. Neither direction creates users or records.
Source. Screeb listens to the change events of the matched objects. When a copied field changes on a record, Screeb updates the property of the matching Screeb users within moments. New records are not imported live: Sync now reads every record of the matched objects and catches them up. The type of each property must match the Salesforce field (text, number, date or boolean), otherwise Screeb does not update it.
Destination. Screeb writes to every matching record:
- the mapped user properties, each time these properties change for a user;
- the score, each time a user answers an NPS, CES, CSAT or NES question in a survey.
Troubleshooting
Section titled “Troubleshooting”Reconnect required, or Your Salesforce connection has expired. Use the Reconnect button above to restore access. Salesforce revoked or expired the access. Click Reconnect and allow access again: the matchings are kept.
A property is never filled. Check that the change events are on for the object (no warning on the page), that the identifying values are identical on both sides, and that the property type matches the field type.
Disconnect
Section titled “Disconnect”- To stop one matching, click the cross next to it. On the destination, confirm with Delete mapping. A saved matching is deleted at once on both pages, without waiting for Save.
- Revoke access stops the sync until you reconnect. The matchings are kept.
- More at the top right, then Delete, then Delete integration, deletes the integration and all its matchings. Properties and fields already synced keep their values.