

Send feedback to Zendesk
Send a survey response from Screeb to Zendesk by email, with the respondent's details, as a new ticket.
The Zendesk integration sends a survey response to Zendesk in one click, from the list of responses. Screeb emails the response, with the details of the respondent, to an inbound address of Zendesk. Zendesk turns the emails sent to your support address into tickets.
Before you start
Section titled “Before you start”- The Zendesk integration is included in your plan. Otherwise its card in the catalog shows Upgrade to install.
- To install or remove the integration, you need the admin role on the workspace. Once it is installed, every member of the workspace can send responses.
- In Zendesk, find a support email address of your Zendesk account, on your Zendesk subdomain. It ends with
.zendesk.com.
Connect
Section titled “Connect”- In the sidebar, click Integrations, then Install on the Zendesk card. The Zendesk page opens.
- In Email, paste the Zendesk address. Screeb only accepts an address that ends with
.zendesk.com. - Click Install. The message Integration installed confirms it.
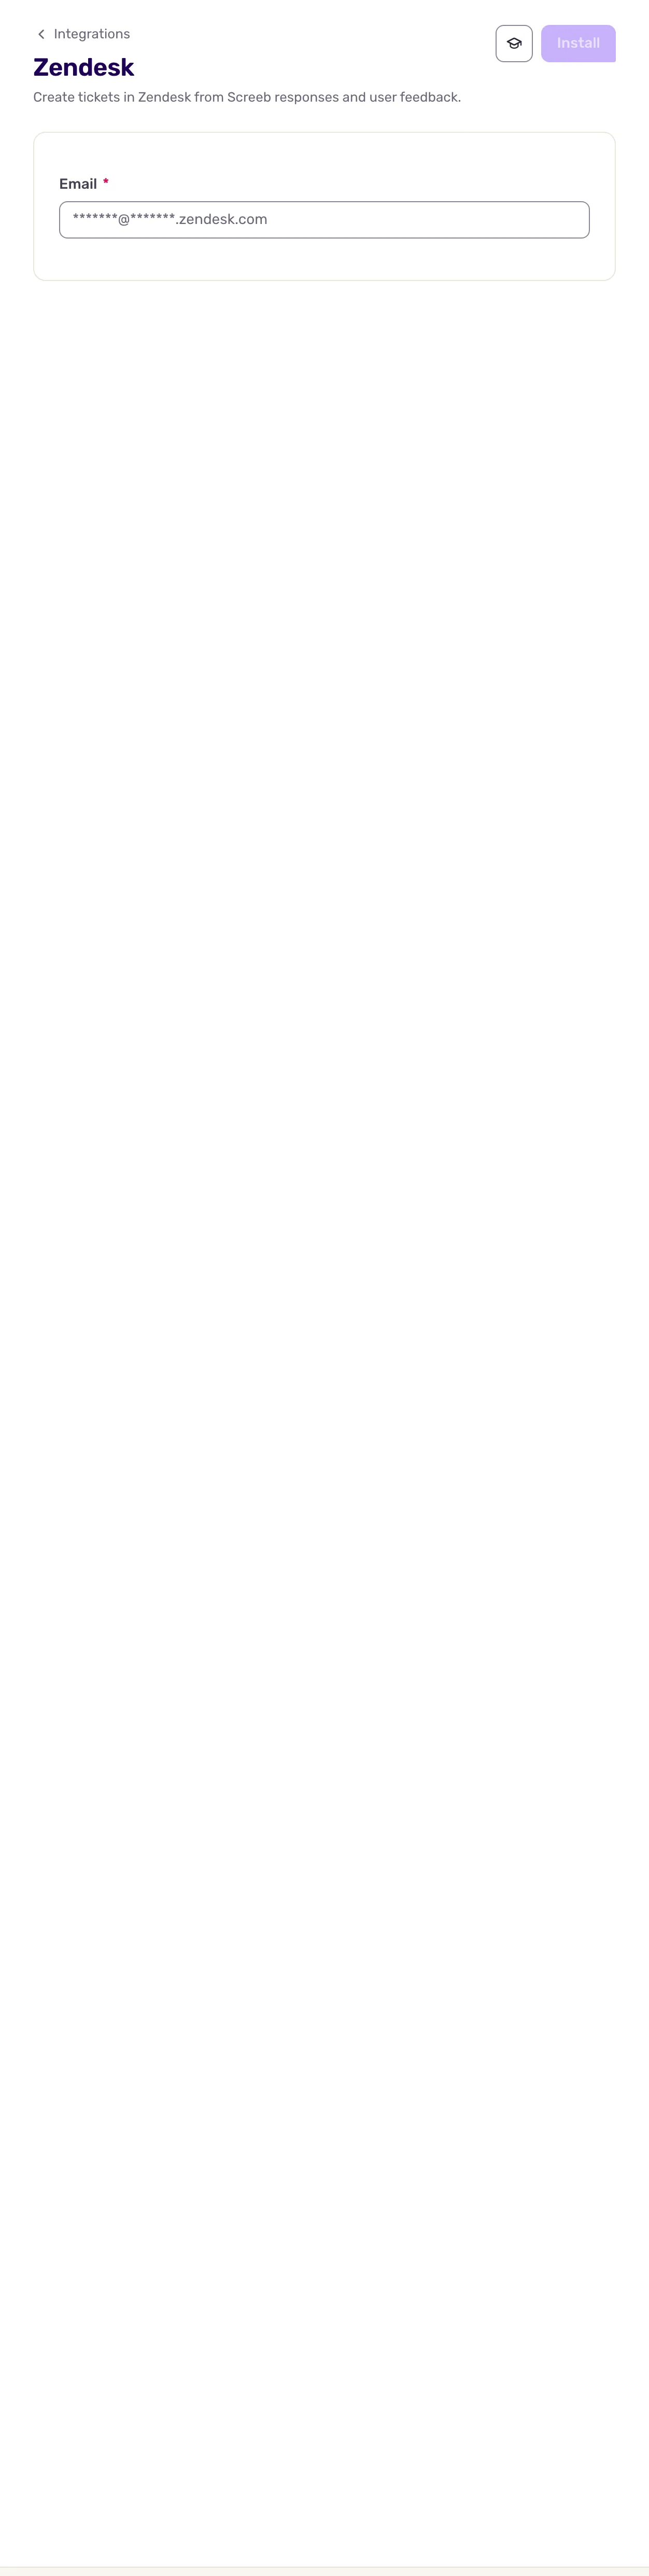
To change the address later, open the same page, edit the field and click Save.
Send a response
Section titled “Send a response”- Open the survey, click Analyze, then All responses.
- On the response to send, click More (the three dots of the row), then Send to Zendesk.
- The message Feedback sent confirms that Screeb sent the email.
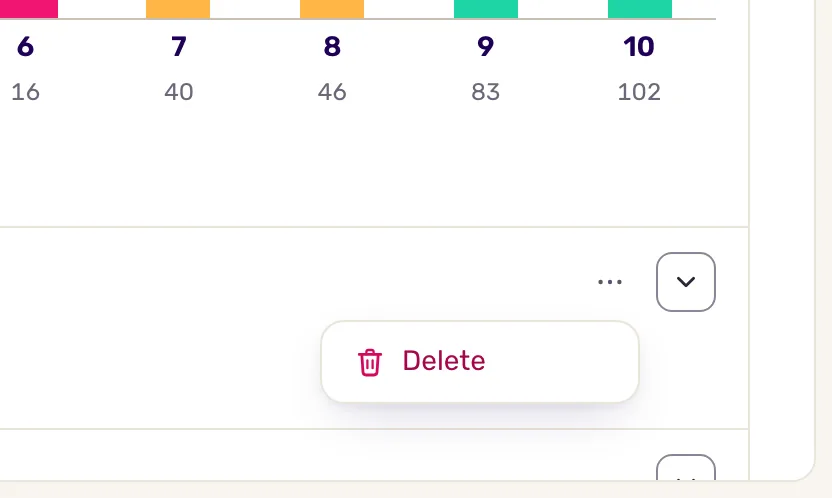
Screeb sends a response only when you click Send to Zendesk, one answer at a time. New responses are not forwarded automatically.
Data exchanged
Section titled “Data exchanged”Data goes one way, from Screeb to Zendesk, by email. Nothing comes back from Zendesk.
Each click sends one email:
- From: Screeb,
fwd-zendesk@screeb.app. - To: the address saved on the integration page.
- Subject:
Screeb to Zendesk.
The email contains:
- the name of the teammate who sent it and the name of the survey;
- the question and the answer of that row;
- who answered: name (or Screeb identifier), email, identifier and segments;
- their latest NPS, CSAT and CES scores, when Screeb has them;
- the hidden fields, the response context (such as page, locale, platform or campaign) and the user properties of the response.
Troubleshooting
Section titled “Troubleshooting”Install stays disabled. Its tooltip reads “Fill in the required fields correctly to save.” The address must end with .zendesk.com: copy it again from Zendesk.
The menu has no Send to Zendesk entry. The integration is not installed on this workspace, or it is no longer in your plan. Check the Zendesk page.
Could not send feedback appears. Try again a moment later. If the error persists, contact support.
The email does not show up in Zendesk. Check the address saved in Screeb against the one Zendesk gives you. If Zendesk only accepts emails from known senders, allow fwd-zendesk@screeb.app.
Disconnect
Section titled “Disconnect”- Open the Zendesk page.
- Click More at the top right, then Delete, and confirm with Delete integration. Screeb deletes the saved address and the Send to Zendesk entry disappears.
The responses already sent stay in Zendesk.
Go further
Section titled “Go further”- Connect Screeb to your tools, for the other integrations.
- Filter survey responses, to find the responses worth sending.
- Export survey responses, to share many responses at once.